What You Should Know About Using a Waterpik
Nov 18, 2021

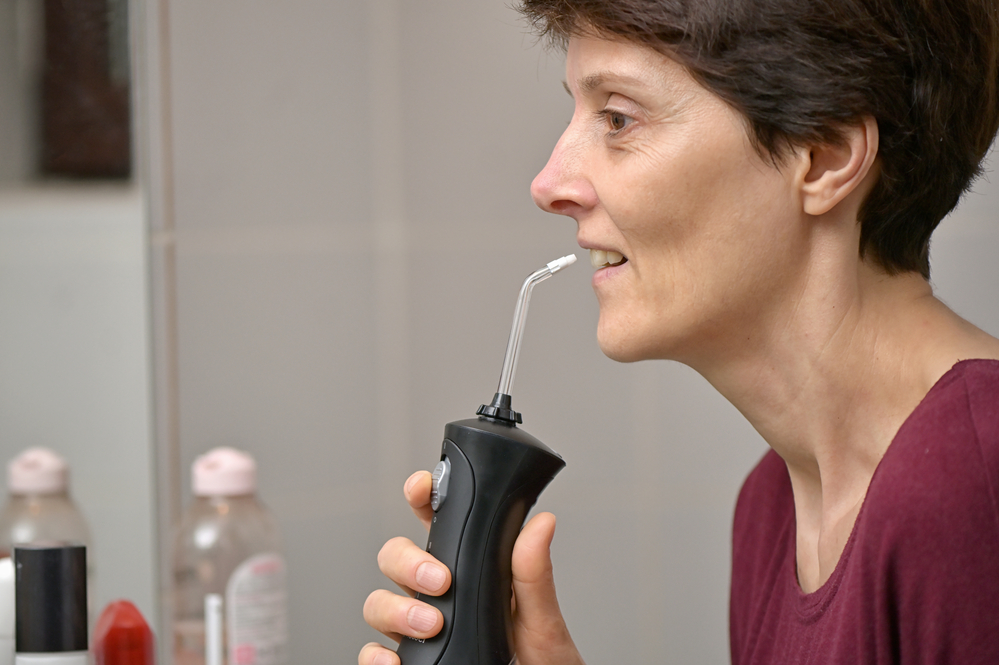
Waterpiks, also called water flossers, are devices that can be a great supplement to your oral care regimen. Waterpiks generally cost between $30 and $70 and can help to remove debris that may be difficult to reach. Waterpik works by spraying a stream of water that can be guided through specialized tips to clean your teeth.
How to Use a Waterpik
Waterpik is a popular brand of water flosser, but there are other brands out there. How they’re used may vary slightly depending on which brand you have purchased, so it’s important to check the instructions that accompany the water flosser.
Charge the Waterpik
The first step is to make sure that the water flosser is fully charged before using it. Similar to an electric toothbrush, a water flosser is typically cordless and charges on a charging stand so that it can sit upright during the charging process.
Fill the Water Flosser with Water
The next step is to fill the water flosser with water. Its location may differ depending on the brand of water flosser, but there should be a reservoir meant to store the water. Fill this reservoir with warm water.
Choose the Appropriate Tip
A water flosser most likely came with multiple tips. The most commonly used one is the standard general-use tip. However, if you have braces, there’s typically a tip designed for cleaning around orthodontic equipment. Another tip may be meant to clean plaque around implanted teeth. Install the one that is best for your needs onto the water flosser. If you already have a tip installed on the water flosser, eject the first tip to change it to a different one. Usually, there is an eject button that will release the tip.
Adjust the Water Pressure
The water flosser may have different pressure settings that you can choose from. There should be a mode button that you can press to toggle between different pressure settings. It’s recommended to begin with the lowest pressure setting and then increase the pressure as needed.
Begin Flossing
Next, make sure that you’re leaning over the sink so that water isn’t spilled onto the floor. Then, turn the water flosser on. Make sure that you’re looking down into the sink and that your mouth is slightly closed. This will prevent splashing as the water from the flosser hits your teeth but still provides room for the water to flow into the sink.
The best results come when you aim the water flosser at a ninety-degree angle. You should also start with the back teeth on the top and work your way forward before doing the bottom teeth, also starting at the back. Make sure that you pause in between the teeth.
Watch the full video from Waterpik
What You Should Know About Using a Waterpik
Many people find a water flosser to be very effective at removing plaque between teeth. However, there are some things you should know about a water flosser before you invest in one.
A Waterpik Shouldn’t Replace Brushing or Flossing
While Waterpiks have a place in oral care, they shouldn’t replace brushing, flossing, or visits to your dentist. Waterpiks can’t remove plaque or stuck-on debris, so it’s important to continue to floss and receive professional cleanings regularly. Using a Waterpik while continuing to practice good oral care can help you to keep your teeth and gums as healthy as possible.
You May Be Able to Clean Dental Work Better
A Waterpik may be able to clean debris out of braces, bridges, and other dental work better than just brushing and flossing. It can be difficult to reach between wires or into small crevices, which a Waterpik will simply stream the water through. This can help to eliminate build-up, potentially prolonging the life of certain types of dental work and mitigating demineralization issues that sometimes come with braces.
Most People Find Waterpiks Enjoyable to Use
While flossing is often seen as an annoyance and some people even dread doing it, many find Waterpiks to be enjoyable to use. The warm water steaming over the teeth and gums can feel soothing and isn’t as abrasive as brushing or flossing. Waterpiks won’t cause bleeding, even for those with very sensitive gums or gum disease.
Waterpiks Require Some Maintenance
Waterpik tips should be cleaned every few months and replaced about every six months. Mineral deposits from the water can build up within the tips and reduce performance. Tips with bristles should be replaced approximately every three months. The water reservoir should also be cleaned regularly.
You Can Use a Waterpik Every Day
You can safely use a Waterpik as often as you like, it will only help to improve your oral care. If you have gum disease or have trouble brushing or flossing, your dentist may even recommend that you use a Waterpik more often than once per day. Ideally, you should use a Waterpik after flossing to remove debris that has been loosened, pointing the stream of water between the teeth and moving slowly from tooth to tooth.
How to Clean a Waterpik
A water flosser typically needs to be cleaned every 1 to 3 months, depending on the mineral deposits that may have built up on the unit.
How to Clean the Exterior
To clean the exterior of the water flosser, use a soft cloth to wipe it down. You can use a cleanser, so long as it’s non-abrasive.
How to Clean the Water Reservoir
The water reservoir is where the water is stored in the water flosser. Remove both the reservoir and the valve. The valve will need to be cleaned by running it under warm water while massaging it for between 30 and 45 seconds. The reservoir itself can be cleaned by either running it through the dishwasher or handwashing it. It’s best to let the reservoir and valve air dry, so don’t use a drying cycle if you run the reservoir through the dishwasher.
How to Clean the Interior
After the reservoir is clean, place it back into the water flosser along with the valve. Then, fill the reservoir with a solution of warm water mixed with 1 to 2 tablespoons of white vinegar. Run this solution through the interior of the water flosser. Once the reservoir is empty again, fill it with plain warm water and run it through the flosser until the reservoir is empty.
How to Clean the Flosser Tip and Handle
Remove the tip from the water flosser and then also from the handle. Soak the handle in a glass filled with a mixture of 1 part white vinegar and two parts water for between 5 and 7 minutes. Separately, soak the tip in a glass of either the same mixture (the white vinegar can be replaced with hydrogen peroxide for the tip) for five minutes. After they’ve finished soaking, rinse them both in warm water.
FAQs
Do you brush your teeth before or after using a Waterpik?
You should use the water flosser before brushing your teeth. That way, you can brush away particles dislodged from your teeth by the water flosser.
Should a Waterpik Touch Your Teeth?
The water flosser shouldn’t touch your teeth or your gums directly. Hold the water flosser away from your teeth and let the water do the work.
How Long Should You Use a Waterpik?
You should spend at least a minute using a water flosser to floss your teeth. The company Waterpik recommends one minute for best results.
Can a Water Flosser Damage Your Teeth or Gums?
A water flosser doesn’t typically damage your teeth or gums. In fact, a water flosser may cause less damage to teeth and gums than regular floss.
If you feel that your oral health could be improved by using a Waterpik, talk to your dentist about it at your next visit to Eagle Harbor Dental.
Need a Deeper Teeth Cleaning?
Call to schedule your appointment!
(904) 269-6558
or
Fill Form To Schedule Your Appointment
For informational purposes only.


