What to Expect When Getting Invisalign
Jul 11, 2022

Many people prefer Invisalign over traditional braces because they’re removable and, as the name suggests, relatively invisible so that they don’t have a major impact on your appearance. However, before you take the leap and invest in Invisalign, it’s a good idea to know what to expect.
Step 1
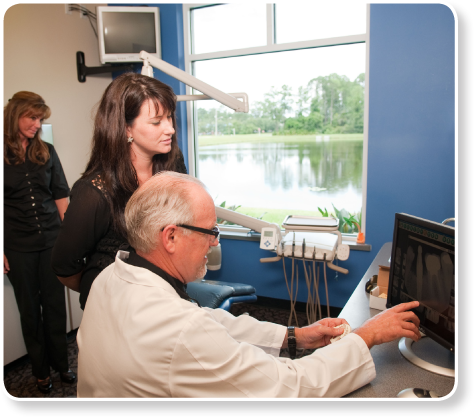
The Consultation

The first step in getting started with Invisalign is to have a consultation with your dentist. Invisalign isn’t right for everyone and your dentist can let you know if that’s the case for you, as well as what alternatives may suit your needs better. If your dentist thinks that Invisalign is right for you, they can answer any questions you may have and walk you through the process.
Step 2
The Molding Process
After you’ve determined with your dentist that Invisalign is right for you, it’s time to create the aligners. Your dentist will take X-rays, digital scans, and photographs of your mouth and teeth to create a digital model to be sent to Invisalign so the company can create your aligners. Depending on your schedule, this can be done during the consultation or it can be a separate appointment.
Step 3
The First Fitting
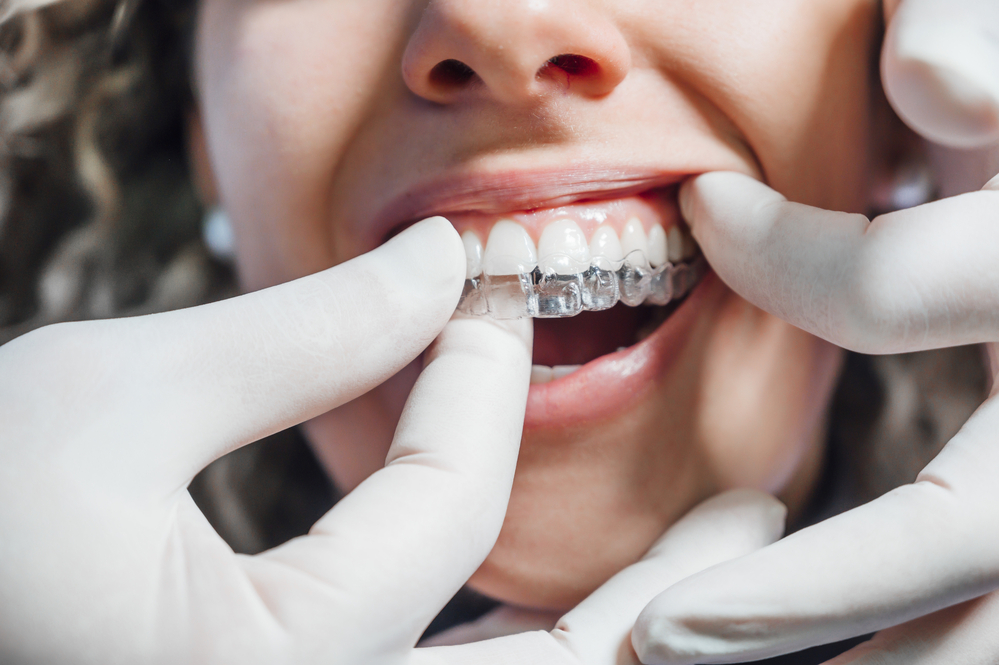
Usually, your first aligner fitting is done at the dentist, which is where the aligners will be sent for you to pick up. Your dentist will help to ensure that it’s a proper fit and may attach buttons that may help the aligner to stay in properly. Your dentist will also explain how to care for your aligners and when you need to change them.
Step 4
The First Two Weeks
When you first put in a new aligner, it will fit snugly and may be difficult to remove. This is normal and the aligner will fit more loosely as your teeth adjust. During this process, you will feel some discomfort because your teeth are moving. You may also discover that you speak with a lisp as you get used to having the aligner in your mouth. By the second week, you should find that both the discomfort and lisp have disappeared.
Step 5
The Follow-up Appointment
After you’ve had your aligners for a few weeks, you’ll need to have a follow-up appointment with your dentist. While one of the benefits of Invisalign is that fewer dentist appointments are needed, it’s still important to make sure that your teeth are aligning correctly as they should be. After this first follow-up appointment, you won’t have to have as many because you can swap out aligners yourself as your teeth adjust.
Step 6
The Second Two Weeks

After your follow-up appointment, you’ll most likely need to switch to the next aligner. Usually, most people swap aligners to the next in the series once every two weeks. With a new aligner, you’ll experience discomfort and snugness just like you did with the first aligner. If you encounter any problems, such as extreme pain or the aligner not fitting, then contact your dentist.
Step 7
The Straightening Process

The rest of the straightening process will be a repeat of the first few weeks. You’ll switch to a new aligner around every two weeks, or however often your dentist instructed you to. Periodically, you’ll have a check-up appointment with your dentist to make sure that your teeth are moving as they should be.
For informational purposes only.
We Accept
![]()
Apply for CareCredit in 5 minutes and get 0% interest financing for up to 12 month.

See Our Office